
Campaign editor and builder
Everything in the Details and Builder steps of a campaign: subject line and preview text, content blocks, text formatting, design options, preview and test emails.
A campaign is built in three steps shown at the top of the screen: Details, Builder and Delivery. This article covers the first two. Breaker saves your work as a draft as you go, and Save Draft (top right) saves it at any time so you can come back later.
Details
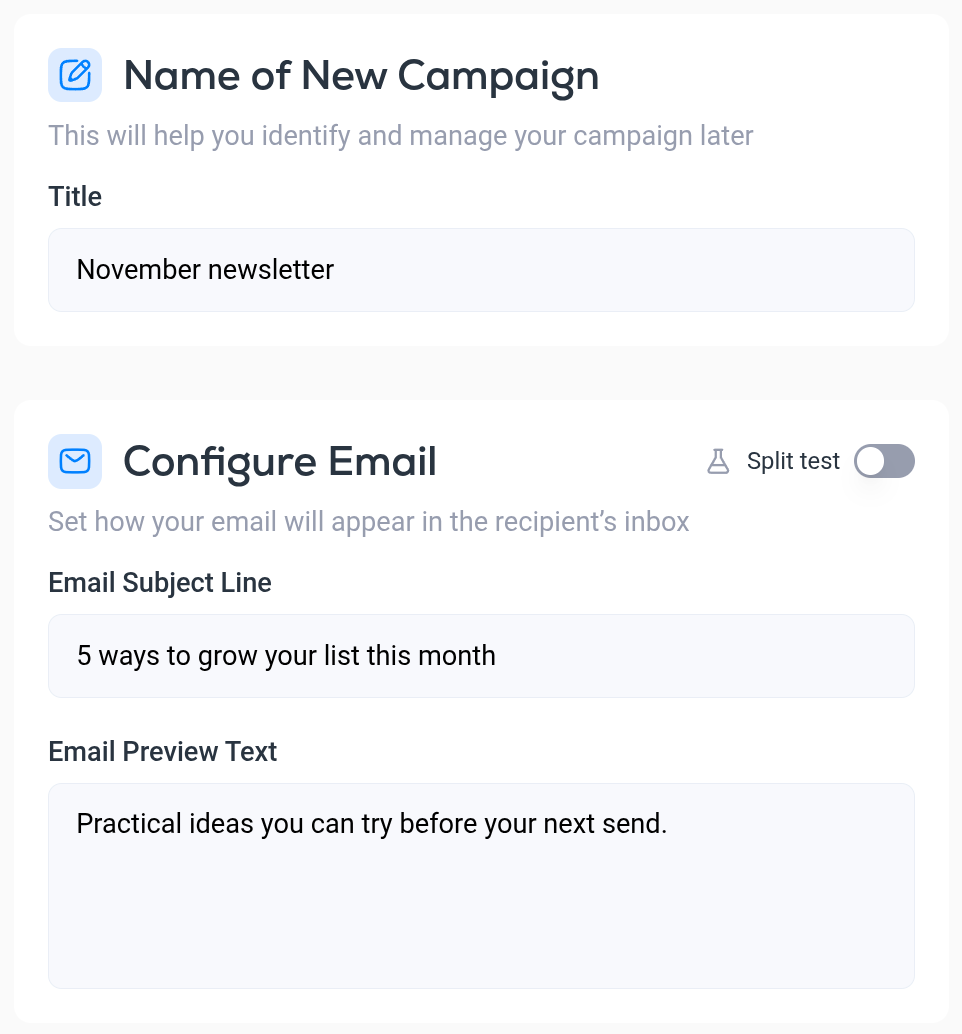
- Title. The campaign's name inside Breaker. Subscribers never see it. Use something you will recognize in the Campaigns list later.
- Email Subject Line. What appears as the subject in the inbox. Switch on Split test to try two subject lines against each other. See Subject line split testing.
- Email Preview Text. The short line most inboxes show after the subject. If you leave it blank, inboxes usually show the first words of the email instead.
Click Next to open the builder.
Builder
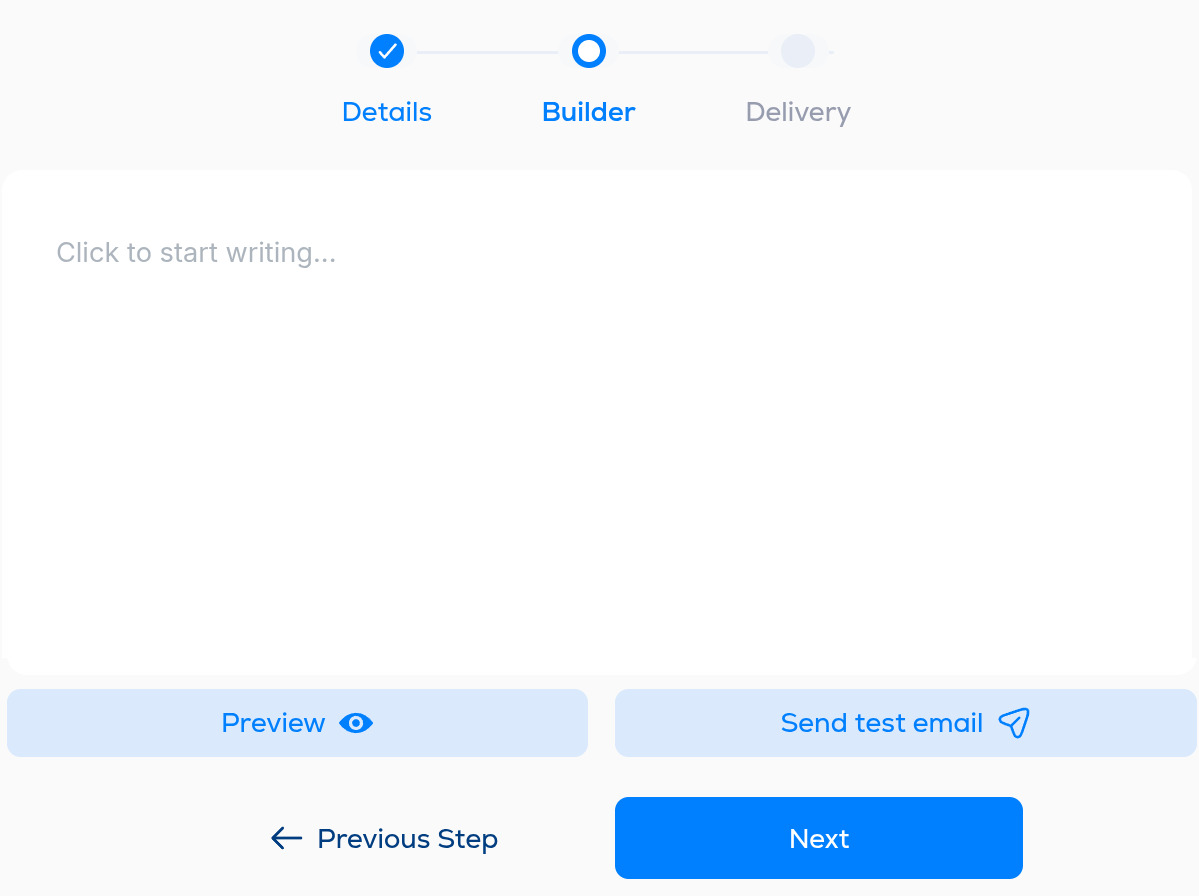
The builder is a blank page. Click into it and start writing. Press Enter for a new paragraph.
It works like a document and a block editor at the same time, much like Notion. Every paragraph, image and button is a block you can move around, but the page reads and edits as one continuous document:
- Paste from anywhere. Copy a draft from Google Docs, Word or another editor and paste it in. The content arrives as regular blocks that you can keep editing.
- Select across blocks. Drag from one block into the next to highlight several blocks or whole sections at once, then format, copy, cut or delete them together.
Adding blocks
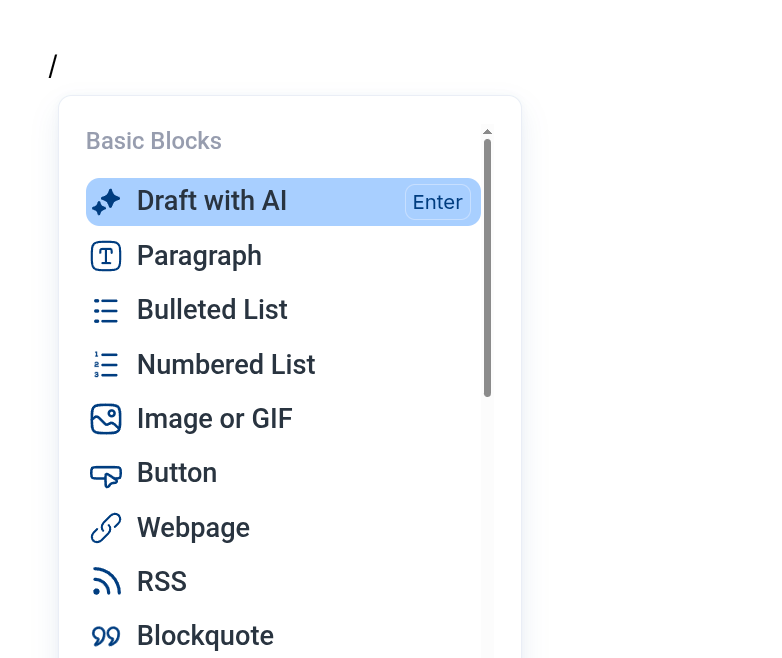
Type / on an empty line to open the block menu, then click a block or keep typing to filter the list.
Basic blocks
- Draft with AI. Writes a first draft of the email from a short brief. See AI content generation and spelling check.
- Paragraph. Normal text.
- Bulleted List and Numbered List.
- Image or GIF. Upload an image or animated GIF, or paste an image URL. Click the image afterwards to set its alignment, margin, link and alt text. Every image needs alt text before you can continue.
- Button. A styled call-to-action button with its own link, alignment and background and text colors.
- Webpage. A link card for a web page.
- RSS. Pulls in recent items from one of your RSS feeds. See RSS feeds.
- Blockquote. Indented quoted text.
- Personalize. Inserts a contact field such as the first name, so each subscriber sees their own value.
- HTML. A block of raw HTML for anything the editor does not have a block for.
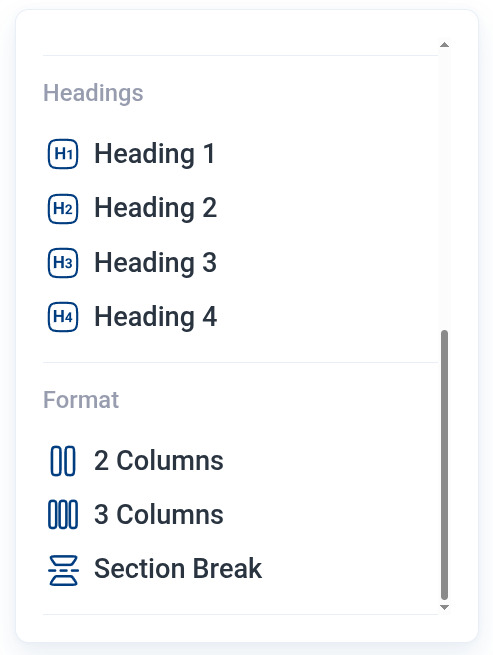
Headings: Heading 1 to Heading 4.
Format: 2 Columns, 3 Columns and Section Break (a horizontal divider between sections).
Moving, duplicating and deleting blocks
Hover over a block and two controls appear to its left: a + that adds a new block below, and a grid of dots. Drag the grid to move the block. Click it for Duplicate and Delete.

Formatting text
Select some text and a toolbar appears above it.

From left to right: bold, italic and underline; left, center, right and justified alignment; link; text color; highlight; the font menu (Inter by default); the block style menu (Paragraph, headings) and the text size menu (Medium by default).
Design options
The small arrow on the right edge of the screen opens the design panel, which applies to the whole email.
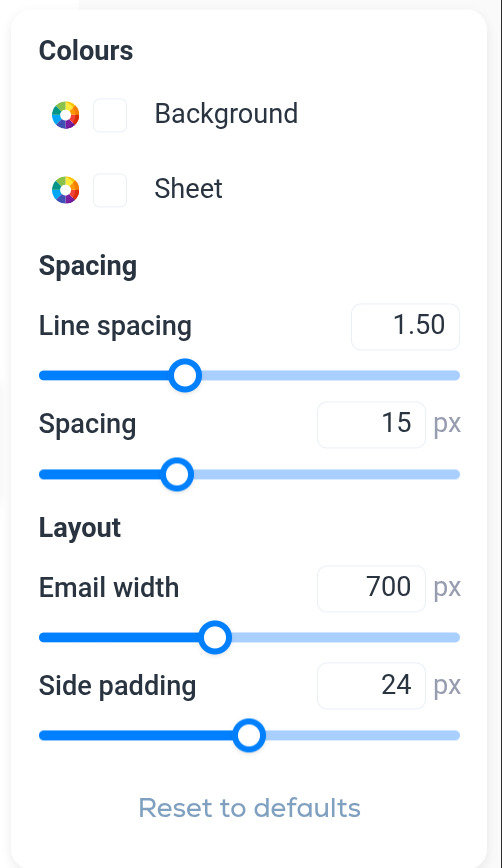
- Colors. Background is the color around the email. Sheet is the color of the email itself.
- Spacing. Line spacing (1.50 by default) and the Spacing between blocks in pixels (15 px by default).
- Layout. Email width (700 px by default) and Side padding inside the sheet (24 px by default).
- Reset to defaults puts everything back.
Preview and test emails
- Preview opens the email as a subscriber will see it. Nothing is sent.
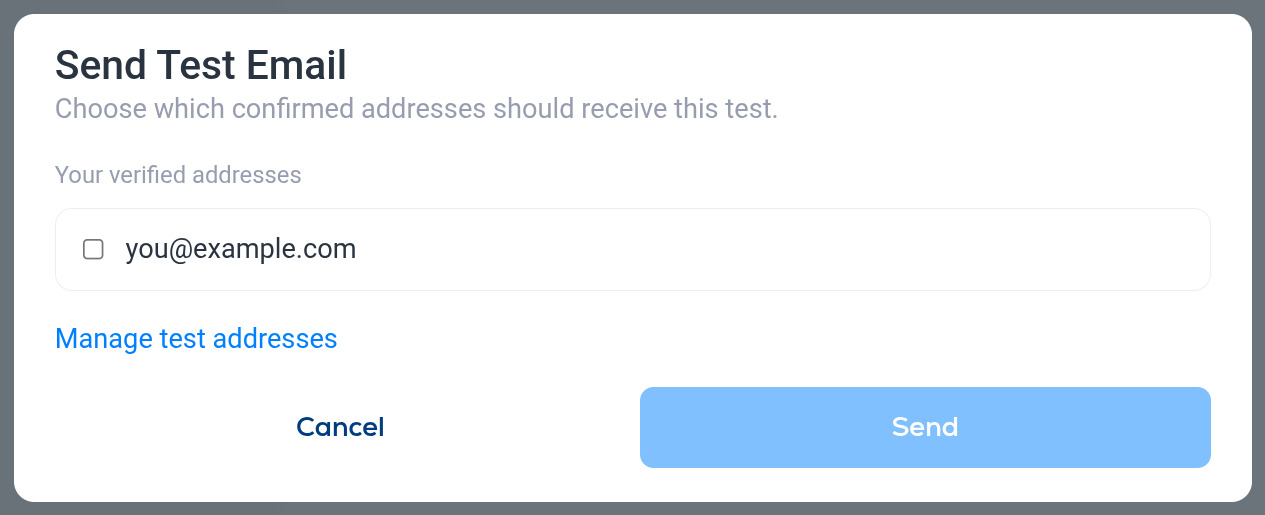
- Send test email opens a list of your verified test addresses. Tick the ones that should get the test and click Send. Test emails can only go to addresses you have confirmed on your profile, so add and confirm an inbox at each provider you want to check before you need it. Manage test addresses in the dialog takes you there. See Profile settings and test recipients.
When the email looks right, click Next to go to Delivery. If this is the first campaign on a new newsletter, see First campaign review by the Breaker team.